Ultimate Guide to DIY Car Wash Tips and Tricks
More and more people like at-home DIY car washes, which not only save money but also give you the satisfaction of a job well done. With the right tools, techniques, and a little know-how, you can achieve a professional-quality car wash in your own driveway. Whether you’re a first-timer or a seasoned DIY enthusiast, this ultimate guide, DIY Car Wash Tips, will walk you through everything you need to know about washing your car like a pro.
Gather Your Supplies
Before you get started, make sure you have all the essential supplies to ensure an efficient and effective DIY car wash. Here’s a basic list of what you’ll need:
- Car wash soap: Always use soap specifically designed for cars, as household detergents can damage the paint.
- Two buckets: one for soapy water and one for rinsing. This prevents dirt from re-entering the washing water.
- Microfiber wash mitt: These mitts are gentle on your car’s paint and help prevent scratches.
- Wheel cleaner: Specialized products help to break down brake dust and road grime on your wheels.
- Soft microfiber towels: For drying and buffing.
- Hose with spray nozzle: A nozzle allows you to control water flow and rinse thoroughly.
- Tire brush and tire cleaner: To keep your tires looking clean and shiny.

Choose the Right Time and Location
Timing and location play a huge role in how well your car wash goes. Ideally, wash your car in the morning or late afternoon to avoid direct sunlight. The heat from the sun can cause the soap to dry too quickly, leaving spots on the paint. Also, choose a shaded or cool location, so the water doesn’t evaporate too fast.
Pre-Rinse the Car
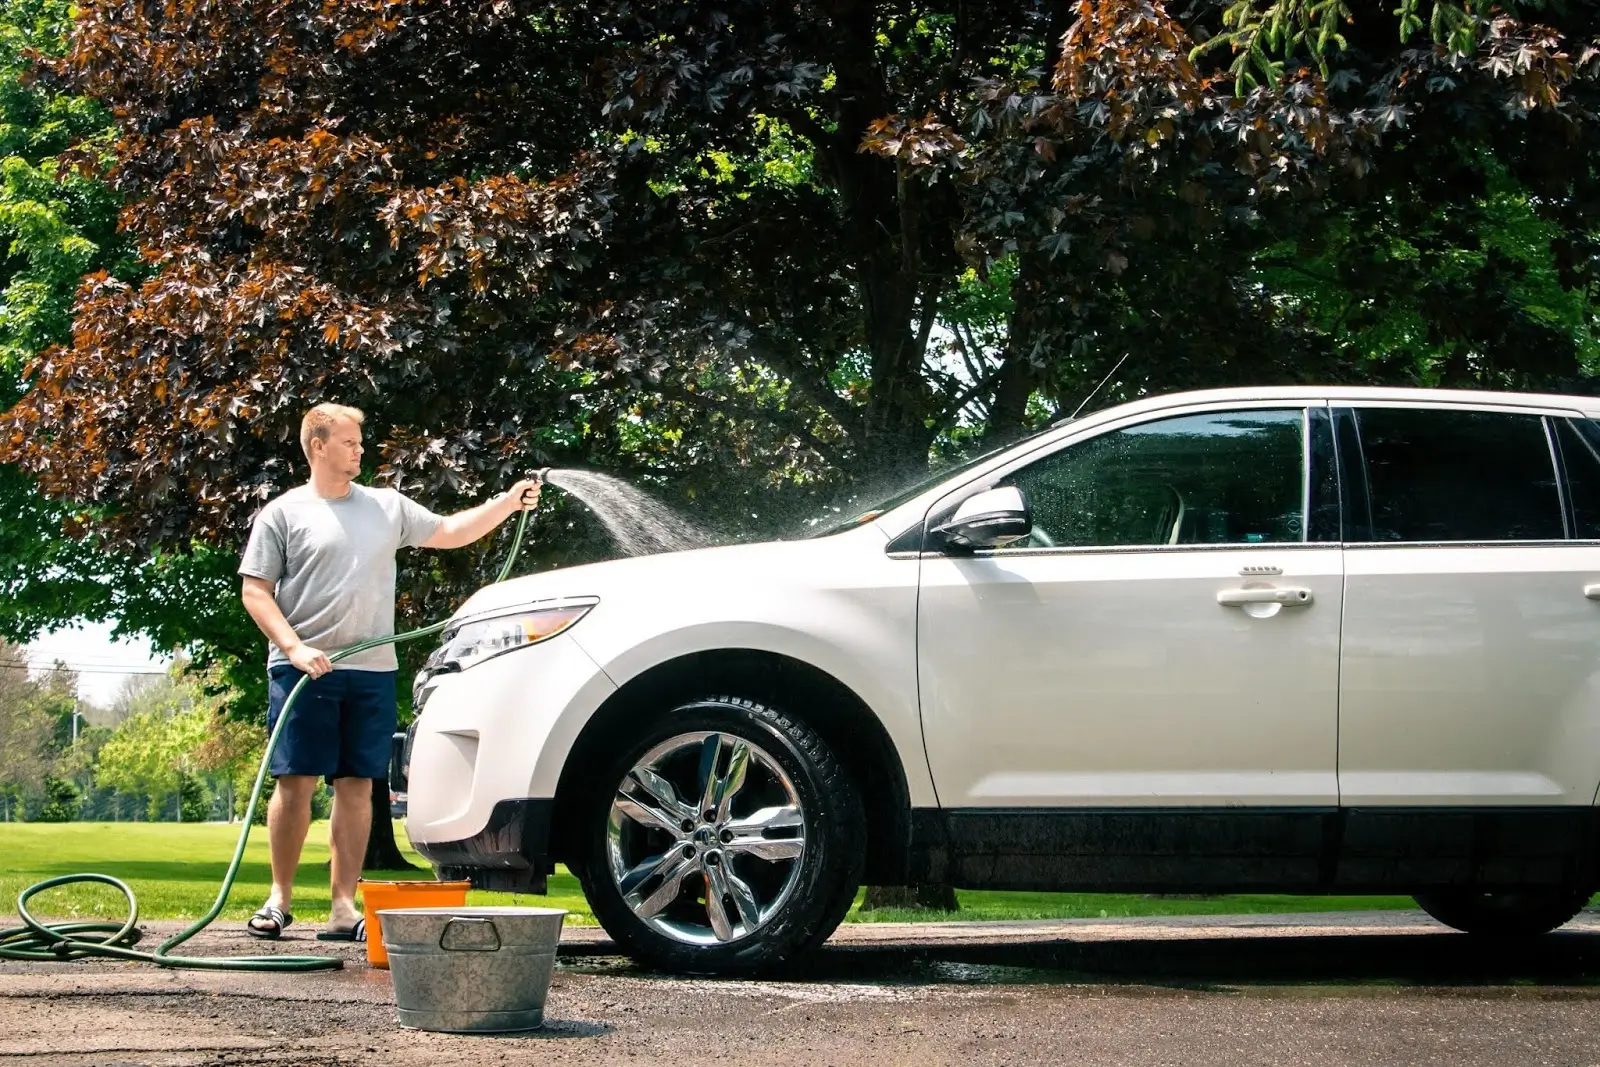
Start by rinsing your car thoroughly with water. This helps remove loose dirt, debris, and grime from the surface. Begin from the top and work your way down, ensuring the entire car gets a good rinse. Don’t forget to rinse the wheels and wheel wells, as they often collect the most dirt.
Wash the Car in Sections
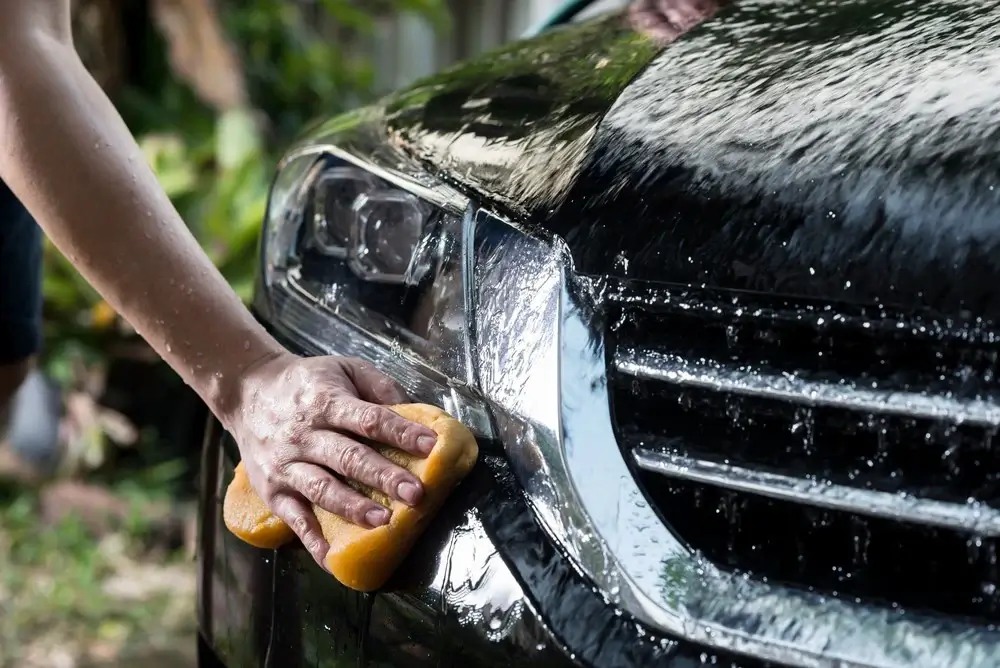
When it comes to washing, work in small sections to ensure every part of the car gets cleaned properly. Start from the roof and move downwards to avoid dirty water dripping onto clean areas. Use your microfiber mitt and dip it into your soapy water, then gently scrub the car in circular motions. Rinse the mitt often in the second bucket to remove any trapped dirt.

Focus on the Wheels
The wheels are often the dirtiest part of the car, so they require special attention. Spray the wheels with a dedicated wheel cleaner and allow it to sit for a few minutes. Use a soft tire brush to scrub away the brake dust and dirt. Be sure to clean around the tire walls and the rims thoroughly. For stubborn dirt, consider using a more aggressive wheel cleaner, but always follow the manufacturer’s instructions.
Use a Drying Technique
Once the car has been washed, it’s time to dry it off. Use clean microfiber towels to gently dry the car. Start from the top and work your way down, as gravity helps to pull water away from the surface. A good drying technique is to blot the car instead of wiping it, as wiping can cause scratches if any dirt or grit is still on the surface. If you’re looking for a more advanced drying method, consider using a car dryer or blower to prevent water spots.
Don’t Forget the Windows and Mirrors
Clean windows and mirrors are crucial for safety and visibility. Use a dedicated glass cleaner and a clean microfiber towel to wipe down all the glass surfaces, including the rearview mirrors. Be sure to use a streak-free cleaner to avoid leaving any residue behind, which can impair your view.
Wax Your Car for a Protective Shine
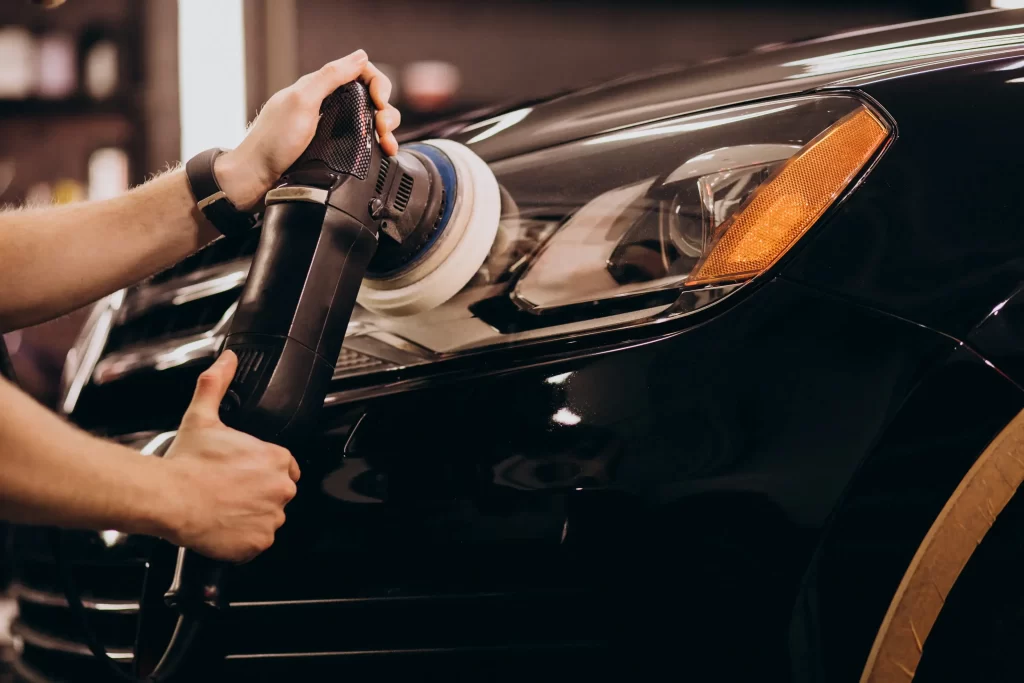
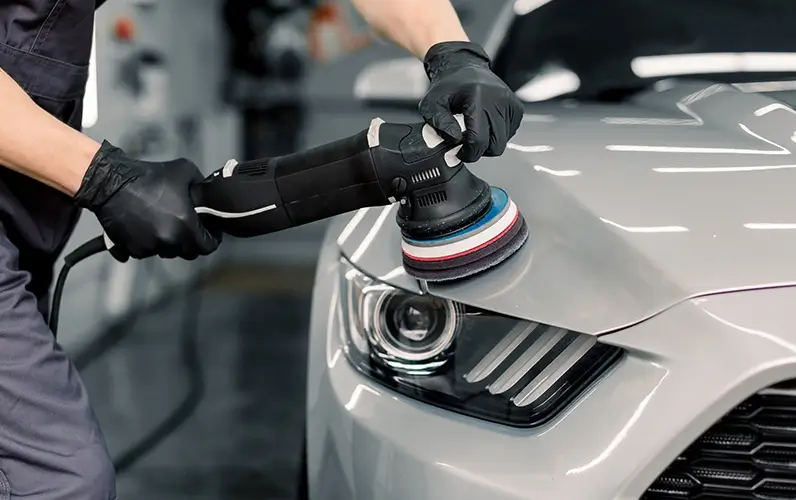
After washing and drying your car, you might want to add an extra layer of protection with wax. Wax not only adds a shiny finish to your car but also provides a layer of protection against dirt, water, and other contaminants. You can apply wax by hand or use a machine polisher for an even coat. Be sure to follow the manufacturer’s instructions for best results, and allow the wax to cure before buffing it off with a microfiber cloth.
Clean the Interior
A thorough car wash isn’t complete without cleaning the interior. Start by removing any trash and vacuuming the floors, seats, and mats. Don’t forget to vacuum the trunk and hard-to-reach areas. Wipe down the dashboard, center console, and door panels with a microfiber cloth and an interior cleaner. Use a specialized upholstery cleaner for the seats if necessary. For extra freshness, consider using an air freshener or fabric spray.

Detailing for the Finishing Touch
For the ultimate DIY car wash, consider taking your detailing game to the next level. Detailing involves cleaning and restoring areas of your car that often get overlooked, such as the engine bay, headlights, and trim. You can use a specialized trim restorer to bring black plastic or rubber parts back to life. A headlight restoration kit can help clear up foggy headlights, improving both the appearance and safety of your vehicle.
Tips for Maintaining Your Car’s Cleanliness
To make your next car wash easier and maintain that freshly washed look for longer, consider the following maintenance tips:
- Use a car cover: If possible, park your car under a cover or in a garage to protect it from dust, bird droppings, and tree sap.
- Wash your car regularly: Washing your car once every two weeks helps prevent dirt and grime from building up and protects the paint.
- Use a quick detailer spray: For touch-ups between washes, a quick detailer spray can help remove minor dust and give your car an added shine.
Conclusion
Washing your car at home may seem like a daunting task, but with the right tools, techniques, and a little patience, you can easily achieve a professional-grade clean. From pre-rinsing and washing in sections to adding a layer of wax for protection, these DIY car wash tips will help you maintain your car’s appearance while saving money. Regular washing and maintenance can extend the life of your car’s paint and keep it looking new for years to come. So, roll up your sleeves, gather your supplies, and enjoy the satisfaction of a job well done!
